Article Plan: Bunion Surgery Exercises PDF
This comprehensive guide details a post-operative rehabilitation plan‚ including exercises‚ for individuals recovering from bunion surgery‚ referencing resources like Rosenberg Cooley Metcalf․
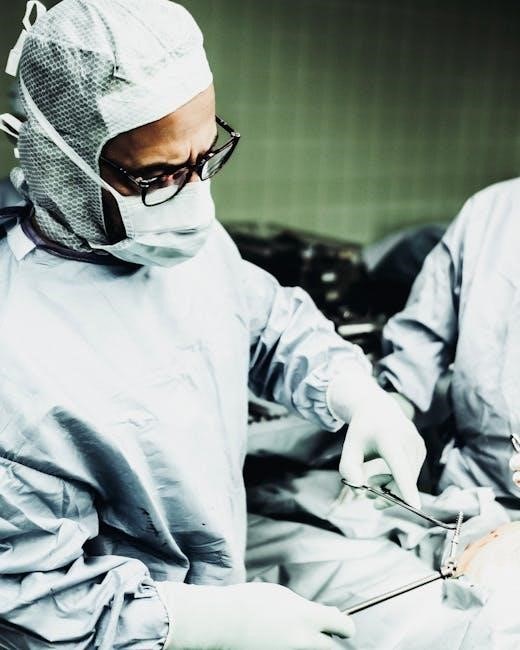
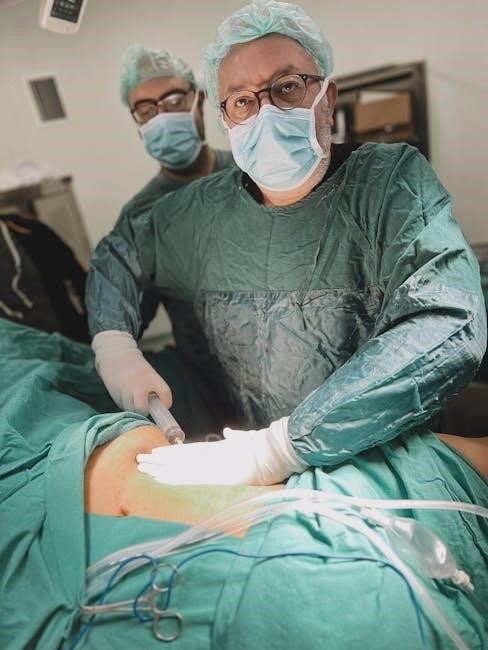
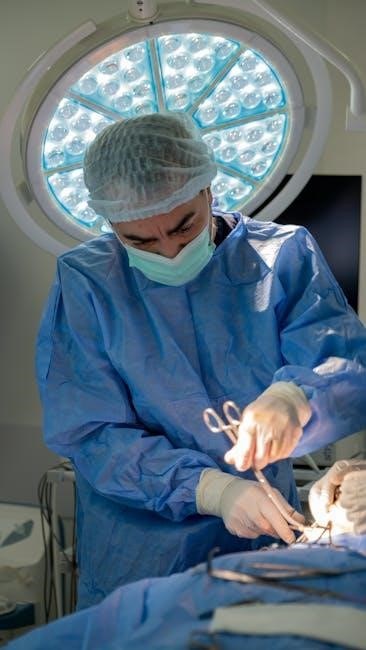
Bunion surgery‚ or bunionectomy‚ aims to correct foot deformities and alleviate pain․ Successful recovery hinges on a structured rehabilitation program‚ often spanning several weeks․ Physical therapy‚ beginning shortly after surgery‚ is crucial for restoring mobility‚ strength‚ and function․ This involves a phased approach‚ progressing from protected weight-bearing to full activity․
Early exercises focus on reducing swelling and maintaining muscle strength‚ while later stages emphasize range of motion and advanced strengthening․
Understanding Bunionectomy Recovery Phases
Bunionectomy recovery is typically divided into phases‚ each with specific goals and exercises․ Phase 1 (0-4 weeks) prioritizes protection and minimizing swelling‚ utilizing a boot for protected weight-bearing․ Phase 2 (4-6 weeks) introduces weight-bearing as tolerated (WBAT)‚ still often within a boot․ Phase 3 (6+ weeks) focuses on progressive rehabilitation‚ weaning from the boot and increasing exercise intensity․
Phase 1: 0-4 Weeks Post-Surgery – Protected Weight-Bearing
Initial recovery (0-4 weeks) demands strict adherence to protected weight-bearing‚ typically using a post-operative boot․ Maintaining strength in the hip‚ quadriceps‚ and hamstrings is crucial‚ often through straight leg raise programs․ Core strengthening exercises are also recommended to support stability․ Focus is on reducing swelling and pain‚ preparing for the next phase․
Importance of Boot Usage
The post-operative boot is paramount during the initial phase‚ providing essential immobilization and protection․ It limits stress on the surgical site‚ facilitating proper healing and preventing complications․ Consistent boot wear‚ as directed‚ is non-negotiable for successful recovery․ It allows for controlled‚ protected weight-bearing‚ crucial for the first four weeks post-surgery‚ ensuring optimal bone alignment․
Maintaining Muscle Strength (Hip‚ Quadriceps‚ Hamstrings)
Despite foot immobilization‚ maintaining strength in the hip‚ quadriceps‚ and hamstrings is vital․ A straight leg raise program is highly recommended to combat muscle atrophy during the protected weight-bearing phase․ These exercises prevent overall leg weakness‚ supporting gait and balance as recovery progresses․ Consistent effort prevents secondary complications and prepares the leg for weight-bearing advancement․
Phase 2: 4-6 Weeks Post-Surgery – Weight-Bearing As Tolerated (WBAT)
This phase marks a transition to weight-bearing as tolerated (WBAT)‚ typically still utilizing a boot for support․ Gradual increases in weight-bearing are crucial‚ guided by pain levels and physical therapist assessment․ Continued muscle strengthening exercises remain paramount‚ building upon the foundation established in Phase 1․ This stage focuses on restoring functional movement and preparing for more advanced rehabilitation․
Transitioning to WBAT in a Boot
The shift to weight-bearing as tolerated (WBAT) within the protective boot requires careful progression․ Begin with short periods of weight-bearing‚ gradually increasing duration and force as pain allows․ Ensure proper boot fit and function‚ and consistently monitor for swelling or discomfort․ This controlled approach minimizes stress on the surgical site‚ fostering optimal healing and preventing setbacks during recovery․
Continued Muscle Strengthening Exercises
Maintaining hip‚ quadriceps‚ and hamstring strength remains crucial during the WBAT phase․ Continue the straight leg raise program diligently‚ focusing on controlled movements․ Incorporate additional exercises like short arc quads and hamstring curls‚ adapting intensity to avoid post-operative pain․ Consistent muscle activation supports stability and facilitates a smoother transition towards full weight-bearing and functional mobility․
Range of Motion (ROM) Exercises – Early Stage
Gentle ROM exercises are vital for restoring ankle and foot flexibility post-surgery․ Begin with ankle pumps‚ moving the foot up and down‚ and progress to alphabet tracing with the foot‚ carefully controlling the range․ These movements help reduce stiffness and swelling‚ promoting circulation and preparing the joint for more advanced rehabilitation․ Prioritize pain-free motion․
Ankle Pumps
Ankle pumps are a foundational exercise‚ performed by gently pointing your toes up towards your shin‚ then down away from you․ Repeat this motion slowly and rhythmically․ This simple exercise encourages blood flow‚ minimizing swelling and reducing the risk of blood clots post-surgery․ Perform several sets throughout the day‚ as tolerated‚ focusing on controlled movements․
Alphabet Tracing with Foot
Alphabet tracing involves using your big toe to “write” the letters of the alphabet in the air․ This exercise actively improves range of motion in the ankle and foot‚ gently mobilizing the joint after surgery․ Perform slowly and deliberately‚ focusing on completing each letter fully․ It’s a key component of early-stage rehabilitation‚ enhancing flexibility․
Strengthening Exercises – Early Stage
Early strengthening focuses on restoring basic foot function without overloading the surgical site․ Key exercises include toe curls – gripping a towel with your toes – and towel scrunches‚ which enhance intrinsic foot muscle strength․ These movements promote stability and prepare the foot for more advanced rehabilitation․ Consistency is vital during this phase‚ building a foundation for recovery․
Toe Curls
Toe curls are a foundational exercise‚ strengthening the intrinsic muscles of the foot․ Place a small towel on the floor and attempt to grip and pull it towards you using only your toes․ Repeat this motion 10-15 times‚ focusing on controlled movements․ This exercise improves foot dexterity and prepares for weight-bearing activities‚ aiding in a smoother recovery․
Towel Scrunches
Towel scrunches further enhance intrinsic foot muscle strength and flexibility․ Lay a towel flat and use your toes to scrunch it towards you‚ then release․ Repeat this scrunching and releasing action 10-15 times․ This exercise improves foot muscle coordination and prepares the foot for more demanding activities post-surgery‚ contributing to overall rehabilitation․
Phase 3: 6+ Weeks Post-Surgery – Progressive Rehabilitation
This phase focuses on regaining full function through gradual weaning from the boot and introducing challenging exercises․ Expect increased weight-bearing and a focus on strengthening․ Core stability remains vital․ Physical therapy‚ ideally three times weekly for six weeks‚ guides progression‚ utilizing modalities as needed for pain management and optimal recovery;

Gradual Weaning from Boot
As strength and range of motion improve‚ carefully reduce boot reliance․ This isn’t abrupt; it’s a phased approach guided by your physical therapist․ Initially‚ short periods without the boot are introduced‚ increasing duration as tolerated․ Monitor for swelling or pain‚ adjusting accordingly․ Proper footwear becomes crucial during this transition‚ supporting the foot’s evolving mechanics․
Progressing beyond foundational movements‚ this phase incorporates exercises demanding greater stability and strength․ Expect activities like controlled calf raises and resisted band work targeting dorsiflexion‚ plantarflexion‚ inversion‚ and eversion․ Core strengthening remains vital‚ enhancing overall biomechanics․ These exercises build upon earlier gains‚ preparing the foot for functional activities․
Advanced Strengthening Exercises
This stage focuses on restoring full lower extremity power and endurance․ Key exercises include progressive calf raises‚ building ankle stability‚ and resisted band exercises for comprehensive foot and ankle muscle strengthening․ These target dorsiflexion‚ plantarflexion‚ inversion‚ and eversion․ Consistent effort is crucial for regaining pre-surgery function and preventing re-injury․
Calf Raises
Calf raises are essential for rebuilding lower leg strength post-bunionectomy․ Begin with double-leg raises‚ progressing to single-leg variations as tolerated․ Ensure a full range of motion‚ slowly lowering and raising the heel․ Incorporate variations like straight-knee and bent-knee calf raises to target different muscle fibers‚ enhancing overall stability and function․
Resisted Band Exercises (Dorsiflexion‚ Plantarflexion‚ Inversion‚ Eversion)
Utilizing resistance bands provides targeted strengthening for ankle movements․ Perform dorsiflexion (lifting foot up)‚ plantarflexion (pointing toes down)‚ inversion (turning sole inward)‚ and eversion (turning sole outward) against band resistance․ Start with light resistance‚ gradually increasing as strength improves․ These exercises restore ankle stability and improve range of motion‚ crucial for functional recovery․
Importance of Core Strengthening
A strong core is fundamental for post-bunionectomy stability and proper gait mechanics․ Core exercises enhance balance and reduce compensatory movements․ Engaging core muscles minimizes stress on the surgical site and lower extremities during weight-bearing activities․ Incorporate exercises like planks and bridges to improve overall stability‚ supporting a smoother and more effective rehabilitation process․
Core Exercises for Post-Bunionectomy Stability
Begin with gentle core activation exercises‚ such as pelvic tilts and abdominal bracing․ Progress to modified planks‚ holding for short durations‚ and bridges‚ focusing on controlled movements․ Avoid exercises that excessively strain the core․ Consistent core engagement supports proper posture‚ improves balance‚ and contributes to a more stable foundation during the rehabilitation journey‚ aiding recovery․
Physical Therapy Schedule & Frequency
A structured physical therapy regimen is crucial for optimal recovery․ Rosenberg Cooley Metcalf recommends three sessions per week for six weeks post-surgery․ These sessions focus on range of motion‚ strengthening‚ and gait training․ Modalities‚ like ultrasound or electrical stimulation‚ are utilized as needed (PRN) to manage pain and inflammation‚ complementing the exercise program for enhanced healing․
Recommended 3 Times/Week for 6 Weeks
Consistent physical therapy‚ three times weekly for six weeks‚ is paramount for successful bunionectomy rehabilitation․ Each session will concentrate on restoring ankle mobility‚ strengthening surrounding musculature‚ and gradually increasing weight-bearing capacity․ This frequency allows for progressive exercise loading and close monitoring of patient progress‚ ensuring optimal healing and functional return․
Role of Modalities (PRN)
Adjunctive modalities‚ utilized “as needed” (PRN)‚ play a supportive role in managing post-operative discomfort and inflammation․ These may include ice‚ elevation‚ and potentially electrical stimulation or ultrasound‚ guided by the physical therapist’s assessment․ Modalities are not a replacement for active exercises‚ but rather complement the rehabilitation program to optimize pain control and facilitate healing․
Potential Complications & When to Seek Medical Attention
Post-bunionectomy complications‚ though uncommon‚ require prompt attention․ Signs include increasing pain‚ swelling‚ redness‚ drainage‚ fever‚ or numbness/tingling․ Difficulty bearing weight beyond expected timelines‚ or any concerns regarding wound healing‚ necessitate immediate medical evaluation․ Don’t hesitate to contact your surgeon if you experience unusual symptoms during recovery․
Finding Reliable Bunion Surgery Exercise PDFs
Accessing trustworthy resources is crucial for safe rehabilitation․ Rosenberg Cooley Metcalf Orthopedic Clinic provides downloadable PDFs outlining post-operative protocols․ Search for “bunionectomy post-operative protocol PDF” to locate these guides․ Ensure the source is from a reputable medical institution or qualified physical therapist to guarantee exercise accuracy and safety during your recovery journey․
Rosenberg Cooley Metcalf Orthopedic Clinic Resources
Rosenberg Cooley Metcalf offers a detailed bunionectomy post-operative protocol available as a downloadable PDF․ This resource outlines phases of recovery‚ including protected weight-bearing (0-4 weeks) and weight-bearing as tolerated (4-6 weeks)․ It emphasizes maintaining strength in the hip‚ quadriceps‚ and hamstrings‚ alongside core strengthening exercises‚ providing a structured rehabilitation pathway․
Chevron vs․ Akin Osteotomy – Rehabilitation Differences
Rehabilitation guidelines generally remain consistent post-chevron or akin osteotomy‚ focusing on ROM exercises and strengthening․ However‚ subtle variations may exist based on surgical specifics and surgeon preference․ Both procedures benefit from a structured program – typically physical therapy three times a week for six weeks – prioritizing core stability and progressive weight-bearing․
Long-Term Maintenance & Prevention
Sustained success post-bunionectomy relies on a continued exercise routine‚ maintaining strength and flexibility in the foot and ankle․ Proper footwear with ample toe room is crucial to prevent recurrence․ Consistent core strengthening supports overall biomechanics․ Addressing any developing discomfort promptly can avert future issues‚ ensuring long-term foot health and function․
Continued Exercise Routine
Maintaining a regular exercise schedule post-rehabilitation is vital for long-term bunion correction․ Incorporate toe curls‚ towel scrunches‚ calf raises‚ and resisted band exercises into your routine․ Prioritize core strengthening for stability․ Consistent activity prevents stiffness and supports optimal foot function‚ minimizing the risk of future discomfort or recurrence of the bunion․
Proper Footwear
Selecting appropriate footwear is crucial for sustained recovery after bunion surgery․ Opt for shoes with a wide toe box‚ avoiding constriction that could irritate the surgical site․ Supportive arches and cushioning are essential․ Avoid high heels and pointed-toe shoes․ Properly fitted footwear complements exercise‚ promoting healing and preventing future bunion development‚ ensuring long-term foot health․